
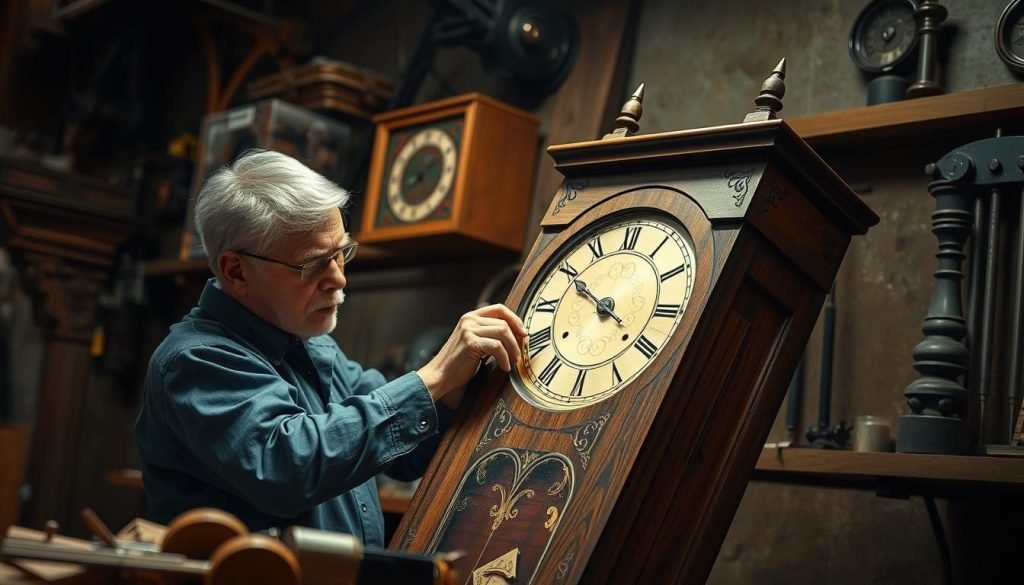
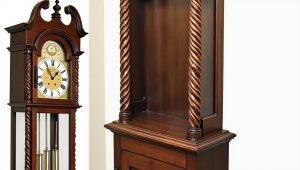
10 Best Grandfather Clock Repair DIY Tips: Save Your Timepiece
1. Level the Clock Properly
One of the most common reasons a grandfather clock stops working or keeps inaccurate time is that it’s not sitting level. A clock that leans even slightly to one side can disrupt the pendulum’s swing and affect the chime and movement.
To fix this, place the clock on a flat, stable floor. Use a bubble level to check side-to-side and front-to-back alignment. Most grandfather clocks have adjustable leveling feet at the base; turn them slightly to raise or lower each corner until the clock is perfectly level.
A useful trick: after starting the pendulum, listen closely to the tick-tock sound. If it’s evenly spaced, the clock is level. If one side sounds heavier or uneven, adjust the feet until balance is achieved.

2. Set the Beat
A grandfather clock must have an even “tick-tock” rhythm to function properly. This rhythm is called the beat, and when it’s off, your clock may stop randomly or run too fast or slow. Setting the beat ensures the pendulum swings evenly to both sides, maintaining time accuracy.
To check the beat, gently swing the pendulum and listen. The tick and the tock should sound evenly spaced like a metronome. If the sound is uneven (for example: tick… tock-tick… tock), the beat needs adjusting.
To fix it, carefully tilt the pendulum’s anchor (the small part at the top that the pendulum hangs from) slightly to the left or right, depending on where the imbalance is. Small adjustments make a big difference go slowly and test after each move. You’ll know it’s right when the tick and tock are balanced and steady.

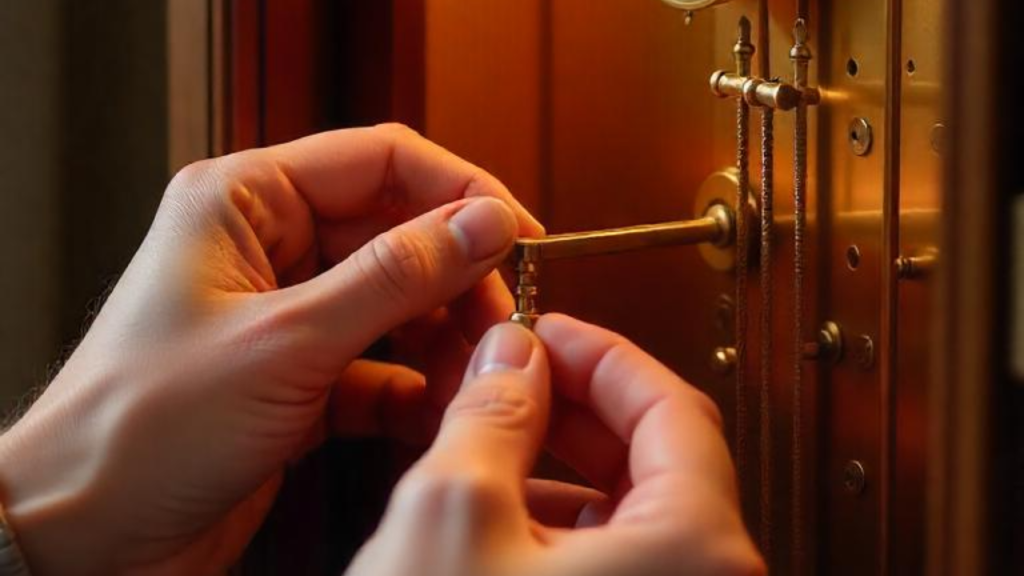
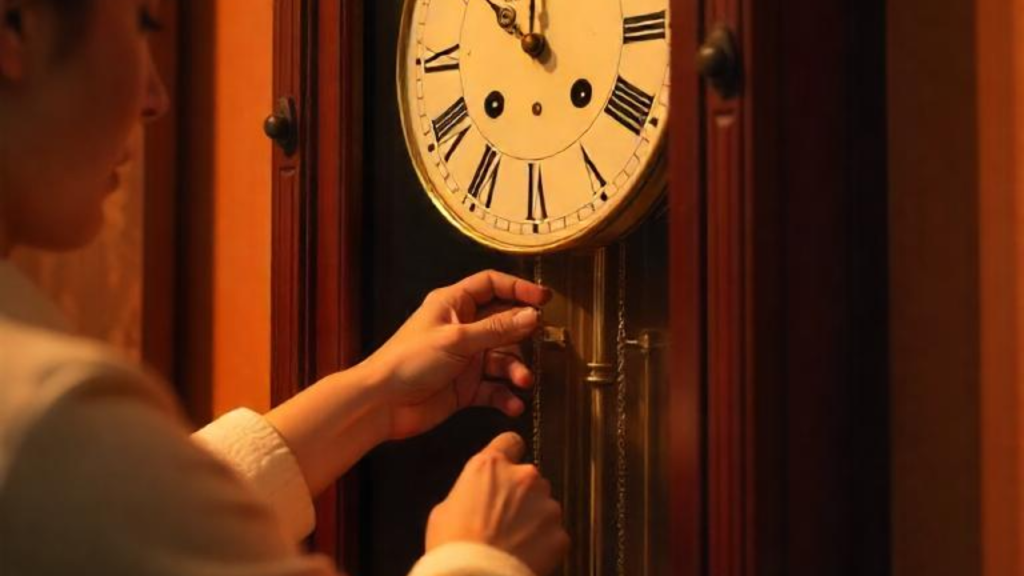
3. Check the Weights
Grandfather clocks rely on weights to power the movement, chimes, and timekeeping. If one of the weights is out of place or not descending evenly, your clock may stop or function incorrectly.
First, open the front door and examine all three weights (left, center, and right). Each weight has a specific role the left usually controls the chimes, the center controls the time, and the right manages the hourly strike. Make sure all weights are hanging freely and not touching the case or tangled in the chains or cables.
If your clock isn’t running correctly, check if the weights are in their correct positions. Some clocks have markings or labels; if not, consult your clock’s manual. Also, ensure the cables or chains are properly wound and not slipping or jammed.
4. Adjust the Pendulum Bob
The pendulum bob controls the speed of your grandfather clock. If your clock is running too fast or too slow, a simple adjustment to the bob can fix it.
To slow the clock down, turn the bob’s nut (located at the bottom) to lower it slightly. To speed it up, turn the nut the other way to raise the bob. Each small turn changes the timing, so go gradually and keep track of each adjustment.
After adjusting, let the clock run for 24 hours, then check the time. If it’s still off, fine-tune the bob again. This method takes a bit of patience but is very effective.

5. Clean the Glass and Exterior
A well-maintained grandfather clock doesn’t just run better; it also looks more elegant. Dust, fingerprints, and dirt can collect on the glass and wooden case, affecting the overall appearance and sometimes even the function.
Start with a soft microfiber cloth and gently wipe the glass panels front and sides. Avoid using regular window cleaners, as they can leave streaks or damage old glass. Instead, use a mixture of water and vinegar or a gentle glass-specific cleaner sprayed onto the cloth (not directly on the clock).
For the wooden case, use a furniture polish suitable for the clock’s finish, whether it’s oak, cherry, or mahogany. Be extra careful around carved details and corners where dust can hide.

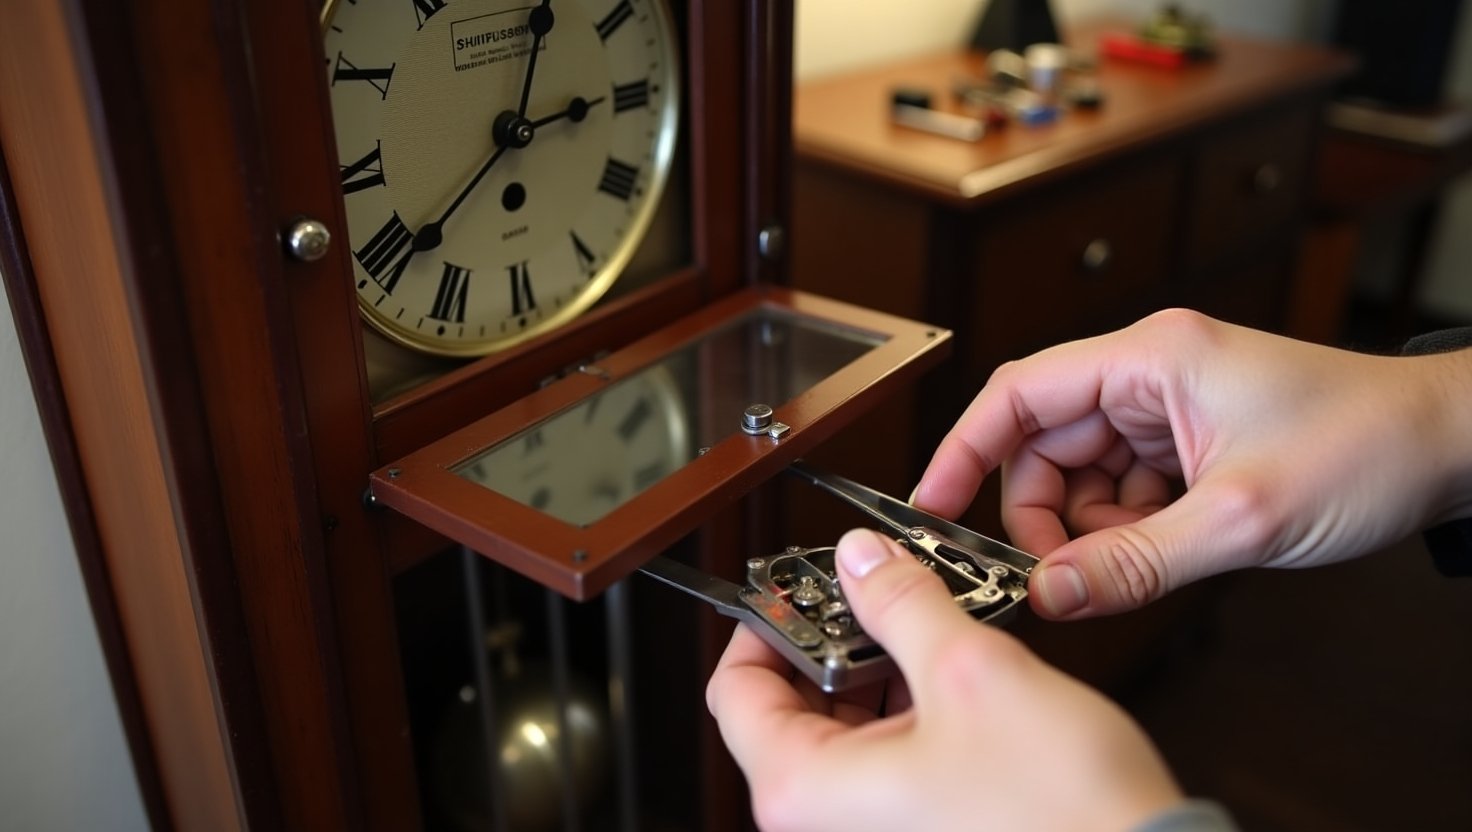
6. Oil the Movement (Carefully!)
Lubricating the movement of a grandfather clock is essential to keep it running smoothly, but it must be done with precision. Over-oiling or applying oil to the wrong parts can cause more harm than good.
Start by locating the clock’s movement, typically behind the dial or inside the back panel. Use a proper clock oil (never household oil or WD-40). Apply only a tiny drop to each pivot point where the gears turn. Do not oil the gears or chains themselves; focus on the arbor ends and bushings where friction occurs.
Avoid using too much oil. Excess can attract dust and gum up the works, leading to wear and breakdown.

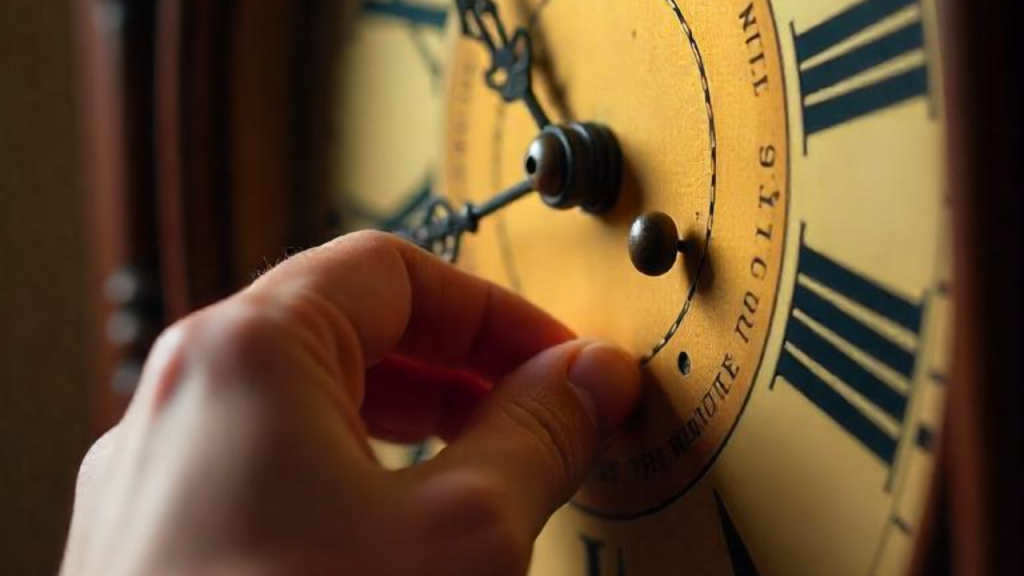
7. Realign the Hands
Misaligned hands on a grandfather clock can cause the chimes to go off at the wrong time or even stop the clock altogether if they get stuck.
To fix this, gently stop the clock. Open the front panel and check if the minute and hour hands are touching or overlapping. If they are, carefully bend them apart using your fingers or a soft cloth for grip. Don’t force them; slow, gentle adjustments are safest.
If the minute hand is chiming at the wrong point (e.g., not on the hour), remove the nut that holds it in place, reposition the hand to match the chime (e.g., point it at 12 when it chimes the hour), then tighten it back.
8. Fix Silent Chimes
If your grandfather clock has suddenly gone quiet, no hourly or quarter-hour chimes, don’t panic. It’s often a minor issue you can fix yourself.
First, check if the clock is in “silent mode.” Some models have a lever or switch near the dial that mutes the chimes. Make sure it’s set to “Chime” or “Strike” instead of “Silent.”
Next, ensure the clock is fully wound. Low weight levels can stop the chimes while the clock still ticks. If winding doesn’t help, listen closely if the hammers are moving but not striking; the chime rods might be misaligned or loose. Open the case and gently adjust the hammers so they strike the rods cleanly, not too hard or too soft.
9. Restart After Power
If your grandfather clock has stopped due to a power outage (in case it’s a cable-wound or hybrid electric model), or after you’ve moved or repaired it, restarting it properly is essential to avoid further issues.
Start by gently swinging the pendulum to initiate movement. Make sure the clock is completely level front to back and side to side. Without proper leveling, the pendulum won’t keep swinging, and the beat will go off.
Next, check that all the weights are properly positioned and wound. Ensure the hands are not touching or stuck. Then, slowly advance the minute hand forward, stopping at each quarter-hour to let the chime mechanism run naturally. Do not push the hand backward, as that could damage the gear system.
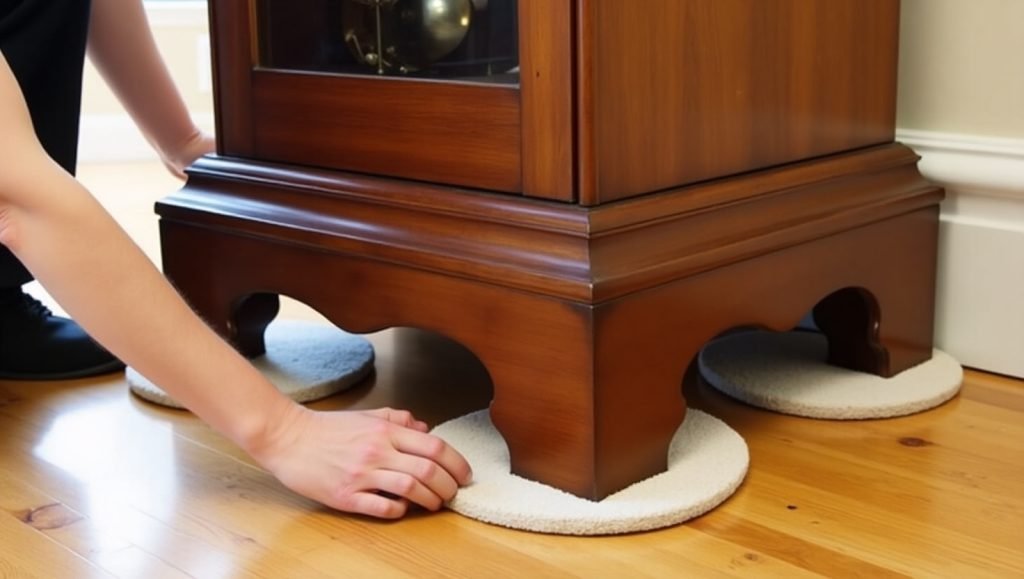
10. Use Protective Pads
Grandfather clocks are heavy, delicate, and often placed on hardwood or tile floors. Over time, their weight and slight movement can damage both the floor and the clock’s stability. That’s where protective pads come in a small but essential part of long-term care.
Install soft, non-slip felt or rubber pads under each leg or base corner of your clock. These pads help distribute weight evenly and prevent scratching or denting the floor. More importantly, they keep the clock from sliding or tilting slightly during cleaning, vibrations, or minor house shifts, which can affect the pendulum’s beat or cause misalignment.
Make sure the pads you choose are thick enough to protect but thin enough not to compromise the leveling. After placing them, recheck the clock’s level using a bubble level and adjust the feet if needed.
Conclusion
Maintaining a grandfather clock may seem complicated at first, but with the right guidance and a gentle touch, it becomes a deeply rewarding experience. From leveling the clock and setting the beat to cleaning the exterior and adjusting the pendulum, each step plays a vital role in keeping your clock accurate, beautiful, and fully functional.
By following these 10 best grandfather clock repair DIY tips, you can confidently handle common issues and extend the life of your treasured timepiece. Whether it’s an heirloom passed down through generations or a charming antique you’ve recently acquired, a little care goes a long way.
Keep it level, keep it ticking, and let every chime remind you that time when treated well lasts forever
FAQ
What are the most common problems in a grandfather clock?
The most common issues include an uneven pendulum beat, misaligned hands, silent chimes, incorrect timekeeping, and stuck or mispositioned weights. Most of these can be fixed at home with basic tools and careful handling.
How often should I oil my grandfather clock?
You should oil the movement every 2 to 3 years. Over-oiling or using the wrong oil can damage the clock, so always use proper clock oil and apply it sparingly to pivot points only.
Why did my grandfather clock suddenly stop ticking?
This could be due to the clock being out of level, an uneven beat, or fully unwound weights. Re-leveling the base and resetting the beat usually restores function.
Can I fix a silent chime without professional help?
Yes, often the chime lever is accidentally set to “Silent,” or the hammers need slight adjustment to hit the chime rods properly. These are simple fixes that don’t require a professional.
What tools do I need for basic grandfather clock maintenance?
Basic tools include a microfiber cloth, bubble level, clock oil, a small screwdriver, and protective pads. These are usually enough for DIY care and repair.
How do I adjust the time if the clock is running too fast or too slow?
You can adjust the pendulum bob: lower it to slow the clock down, or raise it to make it run faster. Small changes make a big difference check time over 24 hours after each adjustment.
Is it safe to move a grandfather clock by myself?
Not recommended. Grandfather clocks are delicate. If moving is necessary, always remove the weights and pendulum first, secure all parts, and move it upright with extreme care or hire a professional.
Do all grandfather clocks chime every 15 minutes?
Most traditional grandfather clocks chime quarter-hourly, but some models only chime hourly. Check your model’s manual to know what’s normal for your clock.


Post Comment